Build images through revision
Separate shape, value and colour across sketches and layers, then compare versions before refining the image’s focus.
ART SPECIALIST / DIGITAL-PAINTING
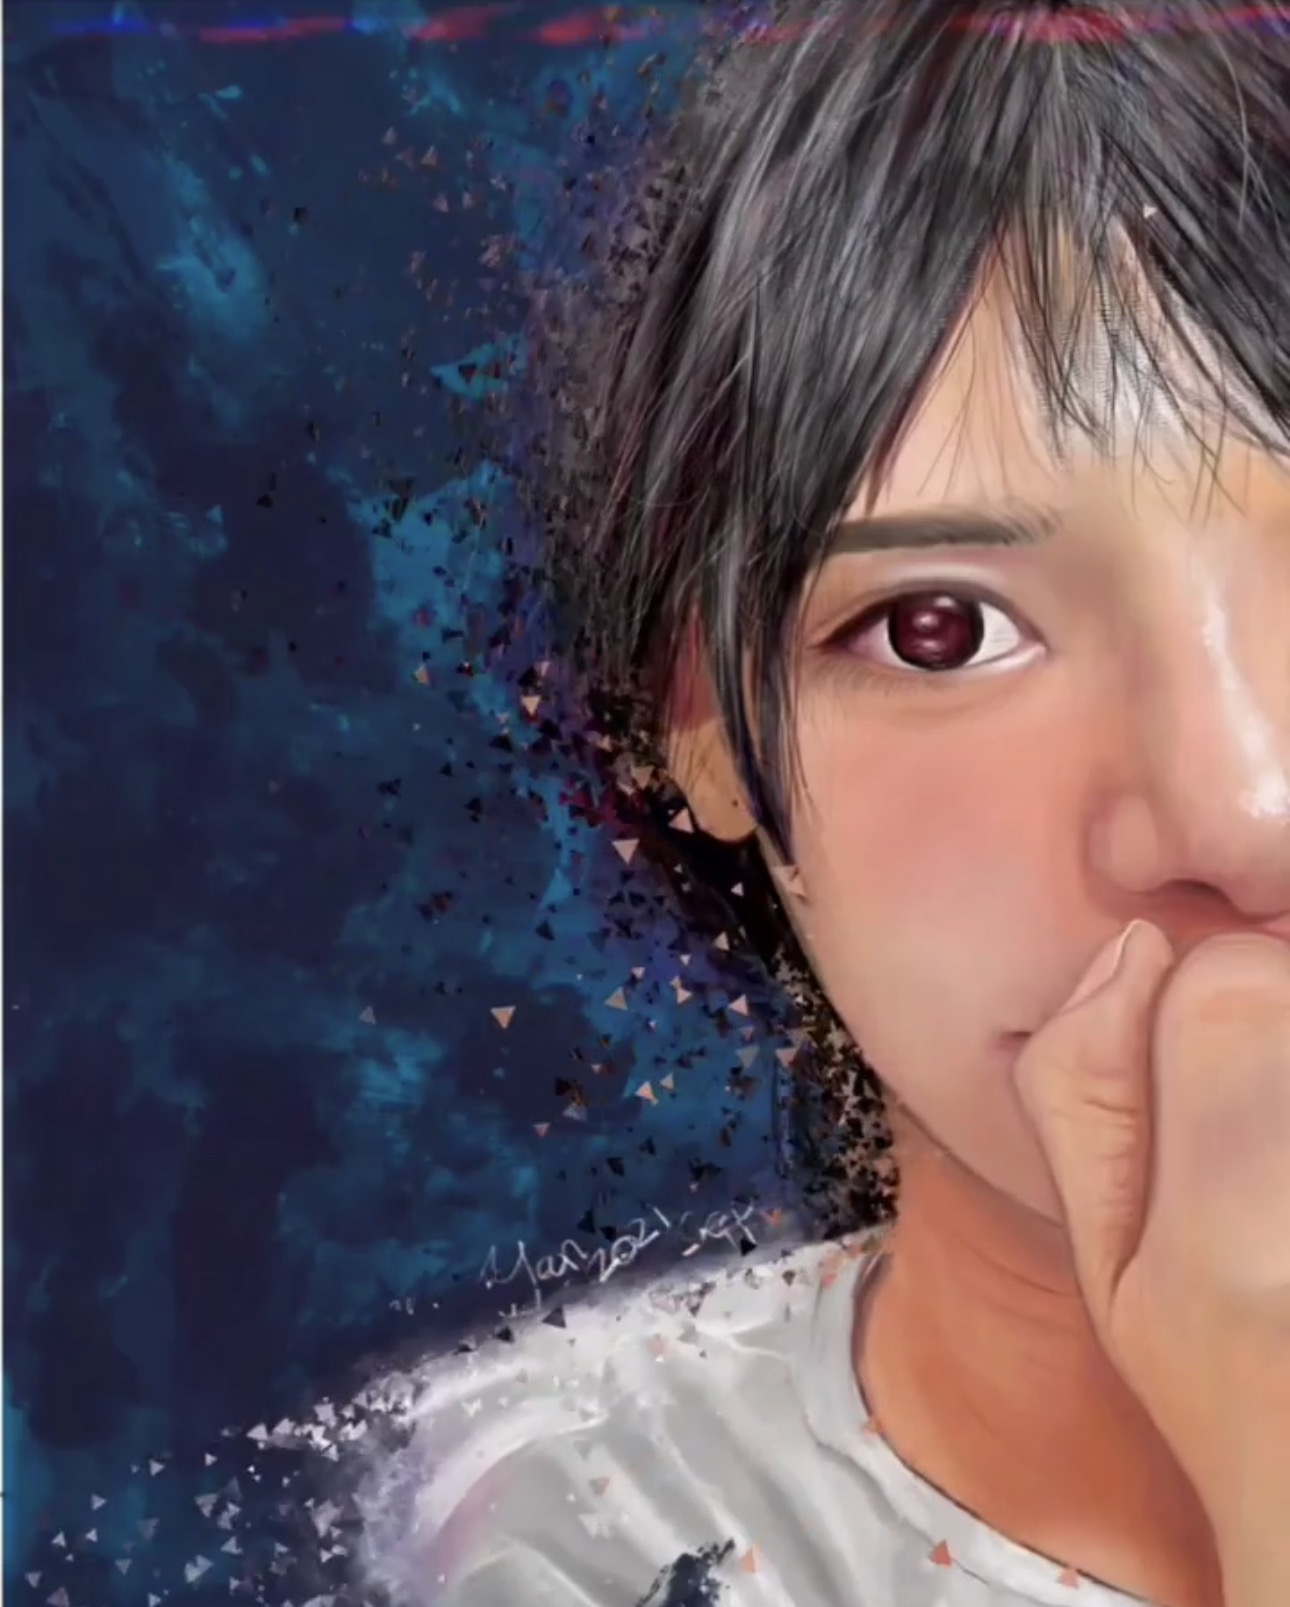
Extend sketching, colour theory and watercolour/acrylic concepts into digital creation. Confirm software, equipment, personal tools and suitable ages before registration. Images are for artwork visual reference.
From sketching and colour to layers, build digital images you can refine.
LEARN · PRACTISE · CREATE
Bring observation, drawing and colour concepts into digital images. From sketches and layers to colour and revision, practise shaping people, objects or everyday impressions into work with focus and depth. The reference pathway is adapted to your experience, subject and available tools.
Separate shape, value and colour across sketches and layers, then compare versions before refining the image’s focus.
Use dominant and supporting colours, value and temperature to organise an image, rather than pursuing screen brightness alone.
Turn people, objects or everyday impressions into digital studies, using composition and detail to express your way of seeing.
Use simple shapes and guides to place height, width, position and direction before refining the subject’s outline.
Separate sketches, line work, colour and revisions into layers, learning how order keeps room for adjustment.
Map lights, darks and midtones first, then use soft and firm edges to give flat colour areas depth and turning form.
Compare brush size, opacity and pressure response so stroke direction supports form and texture.
Check value before adjusting hue, then use a dominant colour and limited supporting colours to create a clear focal point.
Use selections, transforms and local edits to compare compositions and identify which changes support the subject.
Identify large shapes, lighting and hierarchy from a reference or subject, then choose one image-making question to practise.
Follow a step-by-step demonstration and test layers, brushwork or colour in a small area before attempting a whole image.
Apply the methods to your own sketch, then adjust proportion, value or composition through observation and individual feedback.
Compare the first sketch with revisions, organise layers and save with clear names while noting the next direction.
The following is a reference learning pathway, not a fixed five-lesson package. Subjects, difficulty and the number of lessons for each stage are adjusted to your starting point, goals and progress.
| Stage | Practice | What to review |
|---|---|---|
| 01 / Sketches and layers | Start from simple shapes and practise creating and naming sketch, line-work and colour layers. | Are proportion, placement and layer order easy to review and revise? |
| 02 / Value and colour choice | Use a limited palette to separate value and hierarchy, comparing lightness before arranging colour temperature. | Does the subject separate from its background, and do values support form and focus? |
| 03 / Brushwork and edges | Use varied brushwork for smooth, rough or soft edges, avoiding the same degree of clarity everywhere. | Do stroke direction and soft or firm edges suit the form and the image’s focus? |
| 04 / Developing a subject | Develop people, objects or everyday impressions from large shapes into digital images with clear hierarchy. | Do composition, colour and detail guide the eye back to the main subject? |
| 05 / Themed work and review | Choose a suitable subject and organise sketches, colour studies and revisions into a personal practice that can continue. | Can you explain your choices and next step? This is not a fixed five-lesson plan, and work is not guaranteed to finish each lesson. |
Before booking, confirm the available digital equipment, drawing tools and setup; no particular software or version is assumed.
Keep sketch, line-work and colour layers separate; duplicate a version before editing to avoid overwriting earlier progress.
Save editable versions and exported images with clear names, and confirm where files are stored and how they can be taken away.
Use self-made, permitted or otherwise usable references; confirm sources and intended use before sharing or submitting work.
The lesson flow is a reference; the 90 minutes include tidying or saving files. Work may continue across lessons, and completion in every lesson is not guaranteed. Confirm teaching resources, tools, software/devices, materials and any additional arrangements before booking; these are not assumed to be fully included in the fee.
Original piano · ambient instrumental
Music is paused by default. Press Play Gentle Music to listen. The default volume is 8%; adjust it as you wish.
Choose whether to play. Pause or stop the music at any time.