Purposeful colour
Oil paint lets you compare warm and cool colour, value and middle tones repeatedly, making deliberate atmospheric choices for a still life or landscape.
ART SPECIALIST / OIL-PAINTING
Learn tools, cleaning and materials; practise colour mixing, composition, light and layering. Completion progress and collection times depend on material drying times.
Build colour, light and layers with oil.
LEARN · PRACTISE · CREATE
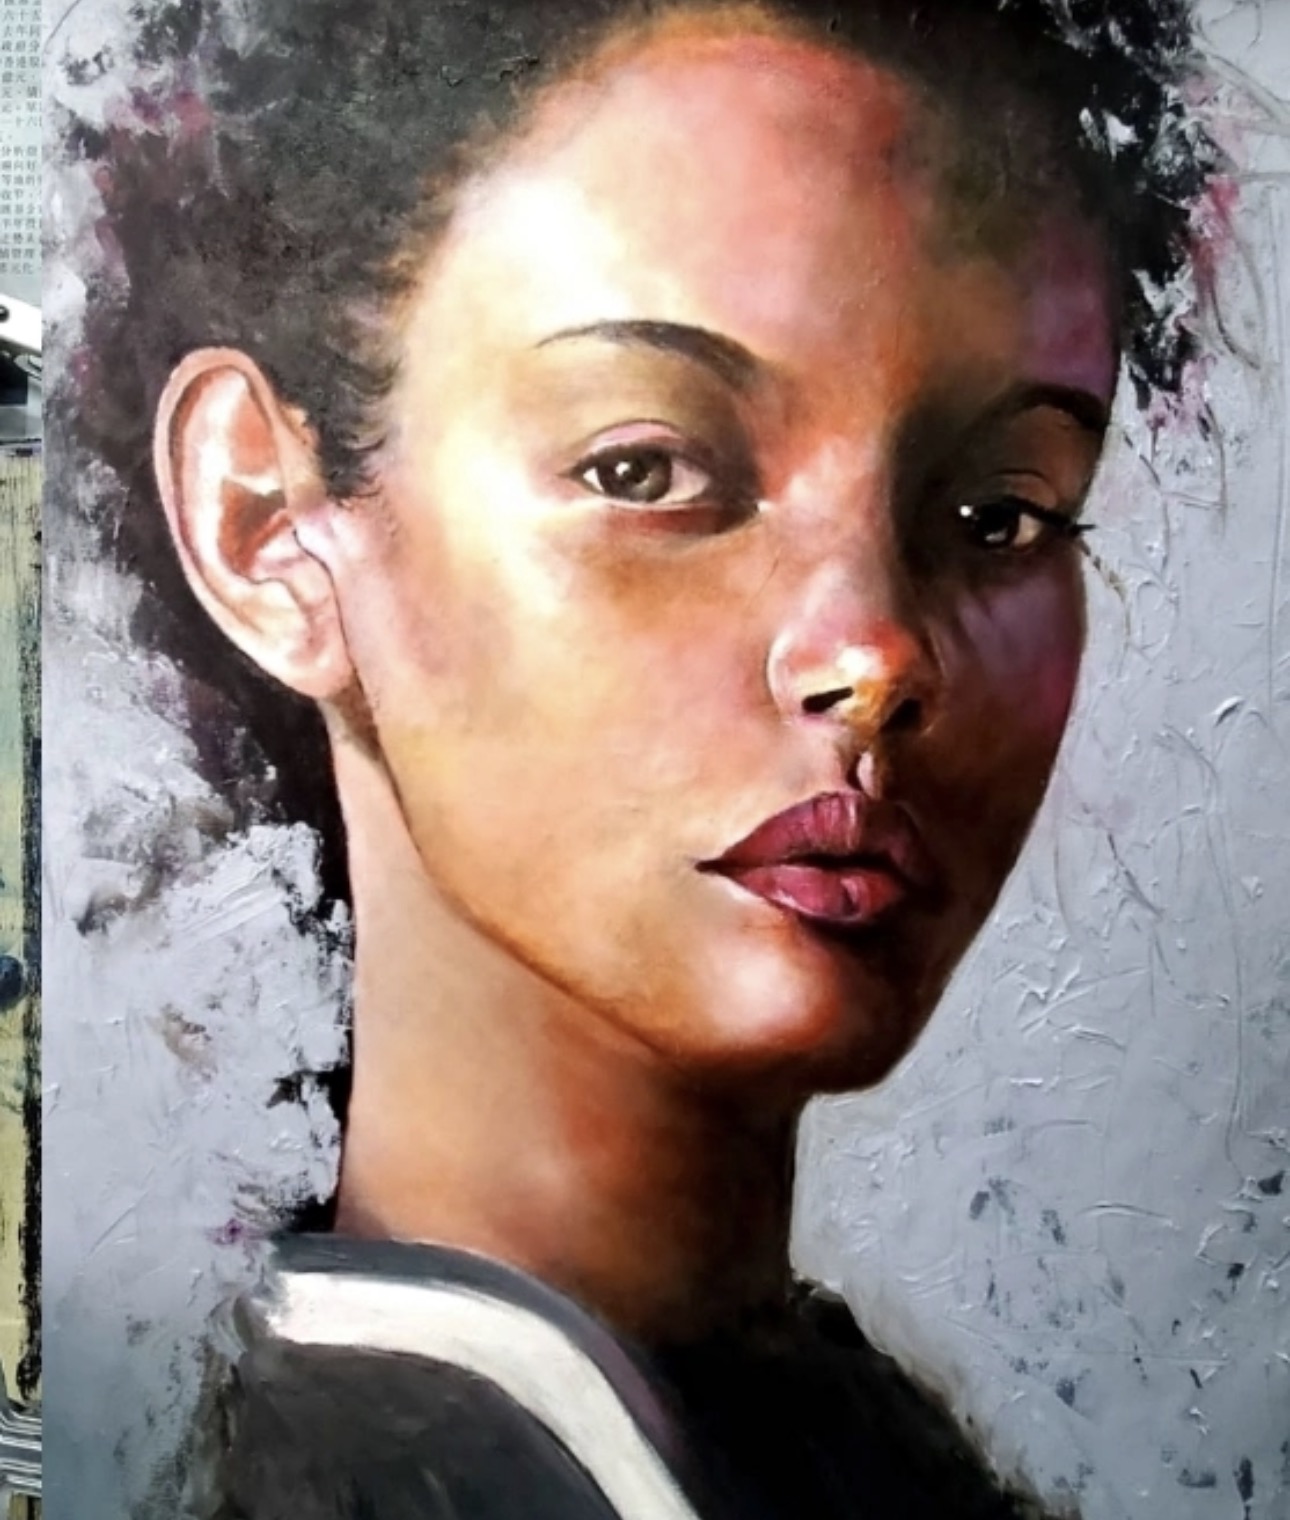
Begin with composition and major values, then explore oil-paint mixing, colour temperature, brushwork and layering. Short colour trials and themed practice build an understanding of pictorial layers, while revisions, storage and collection follow the material’s drying condition.
Oil paint lets you compare warm and cool colour, value and middle tones repeatedly, making deliberate atmospheric choices for a still life or landscape.
As paint dries more slowly, observe how coverage, edges and brushwork gradually change an image instead of rushing to fill every detail.
Start from everyday subjects or impressions of nature, then organise composition, light and emphasis so technique serves the way you want viewers to look.
Use small studies to distinguish subject, background and light source, establishing value and emphasis before colour.
Work from a limited palette to compare temperature, value and middle tones, so every colour does not compete equally.
Observe lights, darks and cast shadows so subjects retain depth and volume beneath the colour.
Use brushstrokes of different directions, thicknesses and clarity to vary edges around the focal point.
Understand the oil-paint principle of leaner early layers and fatter later ones, progressing with each layer’s drying state.
Consider paint, tool cleaning, ventilation and artwork storage together when planning revisions across lessons.
First examine the subject’s light, colour and large shapes, then choose a composition, mixing or edge question for the lesson.
Compare mixing, brushwork and layers through local colour trials and step-by-step demonstration rather than rushing to finish the whole piece.
Apply the methods in your own painting, adjusting value, temperature, emphasis or details through observation and feedback.
Compare trials, the initial layout and revisions, then note drying and the next step for practice that can continue.
The following is a reference learning pathway, not a fixed five-lesson package. Subjects, difficulty and the number of lessons for each stage are adjusted to your starting point, goals and progress.
| Stage | Practice | What to review |
|---|---|---|
| 01 / Composition and value | Use a simple scene or still life to organise large shapes, emphasis and light source; make small studies to compare value distribution. | Is the composition clear, and do the major values support the subject first? |
| 02 / Colour mixing and temperature | Mix middle tones from a small selection of colours, comparing warm light, cool shadow and neighbouring hues in the image. | Do value and temperature serve the hierarchy, rather than letting every colour compete? |
| 03 / Brushwork and edges | Use stroke direction, thickness, and soft or firm edges for changes of form, giving focal areas and background different rhythms. | Do brushstrokes follow the form, and are clear and soft edges chosen deliberately? |
| 04 / Layering and revision | Begin with a leaner base layer, then, when drying condition is suitable, build colour, value and local texture layer by layer. | Do later layers preserve earlier relationships and follow the lean-to-fat layering principle? |
| 05 / Subject and consolidation | Choose a landscape, still life or personal subject, consolidating composition, colour layers and revisions that may continue next time. | Choose the next step by starting point, subject and drying progress; the five stages are reference only, not a fixed five-lesson plan or a promise of completion each lesson. |
Oil-paint practice follows product instructions and the venue’s ventilation conditions; please mention material sensitivities or support needs before enrolment.
Check product instructions before cleaning or handling paint and tools; do not add oils or solvents indiscriminately.
Oil paint dries slowly, so wet surfaces should not be pressed or covered; confirm storage, collection and continuation across lessons before enrolment.
Please confirm before enrolment whether canvases, paint, tools or special materials are provided or self-supplied, and whether any extra charges apply.
The lesson flow is a reference; the 90 minutes include tidying or saving files. Work may continue across lessons, and completion in every lesson is not guaranteed. Confirm teaching resources, tools, software/devices, materials and any additional arrangements before booking; these are not assumed to be fully included in the fee.
Original piano · ambient instrumental
Music is paused by default. Press Play Gentle Music to listen. The default volume is 8%; adjust it as you wish.
Choose whether to play. Pause or stop the music at any time.